Post Content
Having a good shaving lather is probably the most important thing when it comes to wet shaving. It sets the tone for the entire shave.
If you are coming from traditional cartridge shaving then you are probably used to aerosol shaving creams or gels that are extremely easy to lather.
It takes a little bit more work to get that kind of lather using a natural shaving cream such as Proraso but the benefits are far greater.
This article on ‘how to lather shaving cream with a brush will be a step-by-step tutorial on how to get grade A shave lather from your shaving cream by using your badger brush and a bowl of your choice.
Let’s get started!
Post Content
How to lather shaving cream: Choosing a Bowl
The first thing that you want to have is a decent-sized shaving cream bowl that is the right shape.
A typical cereal bowl will do in most cases as long as it is deep enough for your shaving brush kit.
If you have a shallow bowl it can be hard to keep the lather inside the bowl as you are whipping it up with the shaving brush.
Most Popular Products |
||
|---|---|---|
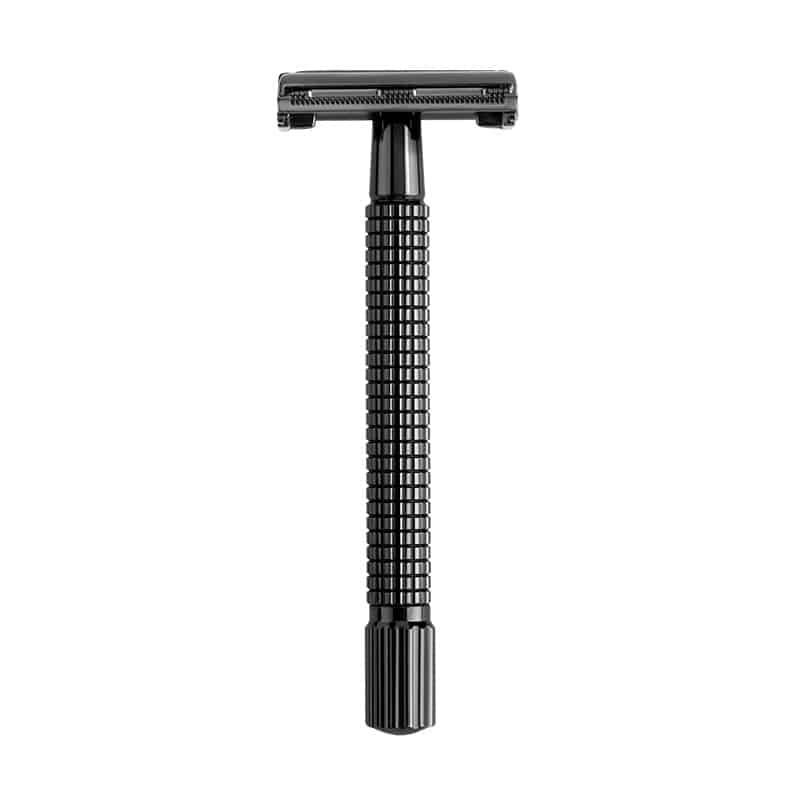
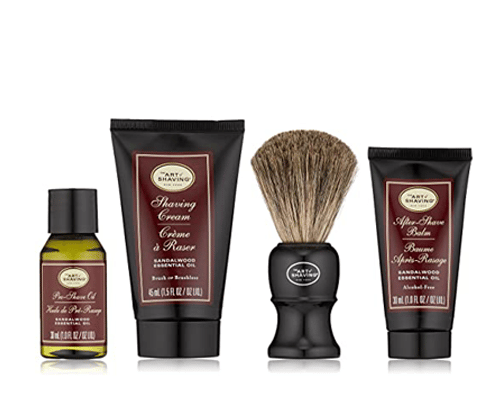
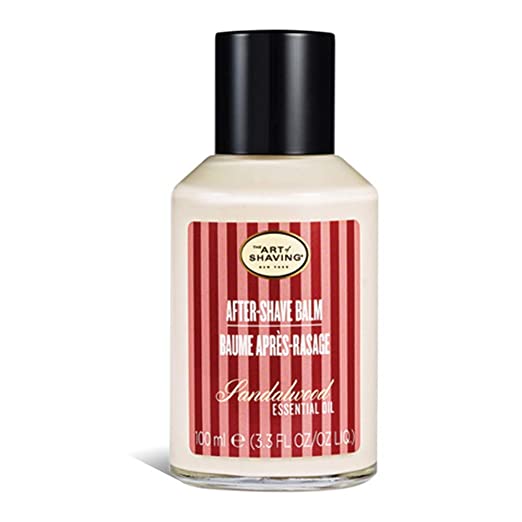
| "#1 Butterfly Safety Razor" | "Best Shaving Kit" | "Top After-Shave Balm" |
 |  |  |
| View on Sigma | View on Amazon | View on Amazon |
On the other hand, if the bowl is too deep, it will be hard to move your hand around as you are stirring it up.
This is why cups do not work very well. But many guys still use shaving cup and brush to achieve decent enough results.
Most types of bowls will do just fine including glass, metal, and ceramic. Out of all three of these, ceramic is my favorite because it does a good job of holding onto the heat from the warm water.
This makes it easier to lather up your shaving cream of choice.
Now if you really want to take your wet shaving game to the next level, there are a number of great shaving bowls, scuttles, and mugs that are specially designed for whipping up a great lather.
Prepping the Bowl and Brush
Before you start to lather your shaving cream brush, ensure that your shaving mug and brush are well-prepped.
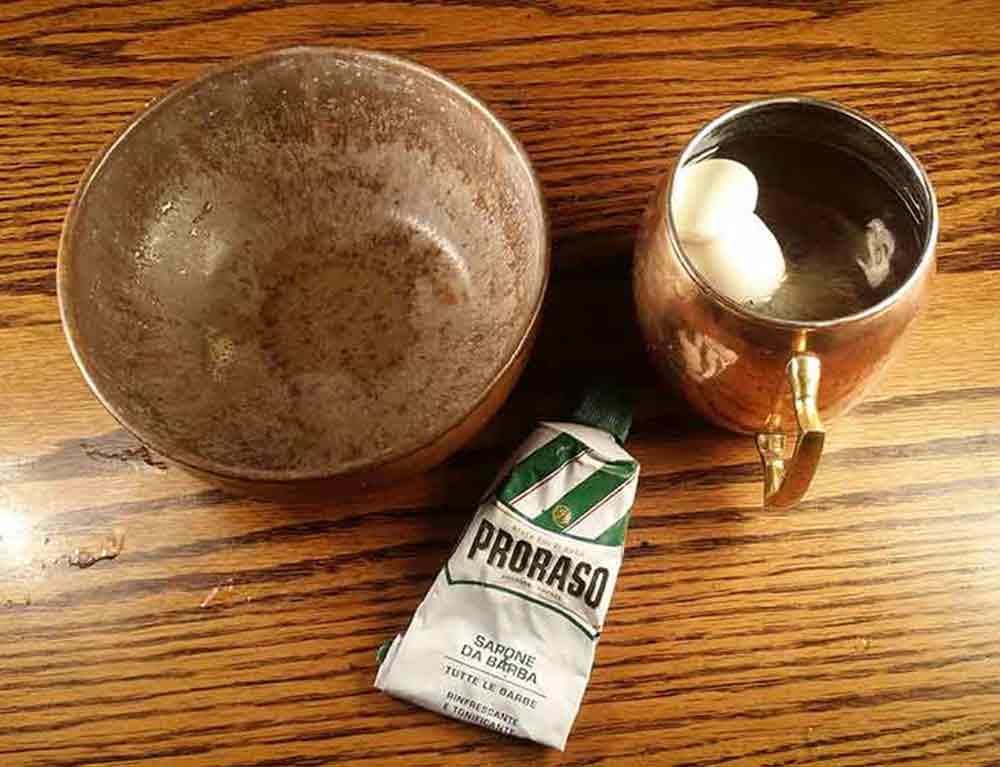
I like to run hot water into my bowl for at least a minute so that the ceramic or glass heats up.
I have a special cup that is the size of a normal coffee cup that I use to prep my badger brush.
I pour warm water into the cup (I honestly wouldn’t advise cold water shaving) and then place my badger brush in the cup to soak for approximately 1 to 2 minutes.
This gets your badger brush men’s shaving brush in perfect condition. It loosens up the hairs of the men’s shave brush and lets it soak up as much water as it possibly can.
It is also good for the overall maintenance of your badger brush because it cleans out soap scum as well.
Putting All the Ingredients Together
If you already know how to use shaving soap and brush, then you probably also know how to use shaving cream.
Be that as it may, all shaving creams are slightly different in the amount that is needed to build up a good lather.
In this article, I’m going to be using Proraso Eucalyptus shaving cream.
Proraso is well-known for being a fairly easy shaving cream to lather up.
It is one of the shaving creams I highly recommend, especially to beginning wet shavers and I’ve tried a lot of shaving creams and soaps.
I actually have assessed which ones are the best here as well as the best for sensitive skin.
After leaving a little bit of water in your warm bowl (approximately 1 to 2 tablespoons) add approximately an almond-sized amount of Proraso shaving cream on top of the warm water in the bowl (warming the shaving cream).
You’re now ready to move on to the fun part and whip up an awesome lather!
Whipping Things Up
Now, this is how to apply shaving cream using a shaving brush. The first thing you should do is pull your badger brush out of the cup of warm water.
You want to give a couple of shakes to get out a good amount of the water, but not all of it.
Start by doing quick circular motions on top of the almond-sized amount of shaving cream in the bowl.
Building a lather starts off slow but you will soon have enough to apply to your face.
After about 15 seconds or so you should be able to see if you need more water in your bowl.
More often than not, there is too little water than too much, which is an easy fix. A couple of tricks I use is to switch up the rotation of the stirrer to get it going faster.
I also target areas that have bigger air pockets by pushing straight down on them using the tip of the badger brush.
This forces these pockets out and starts to create a sticky lather.
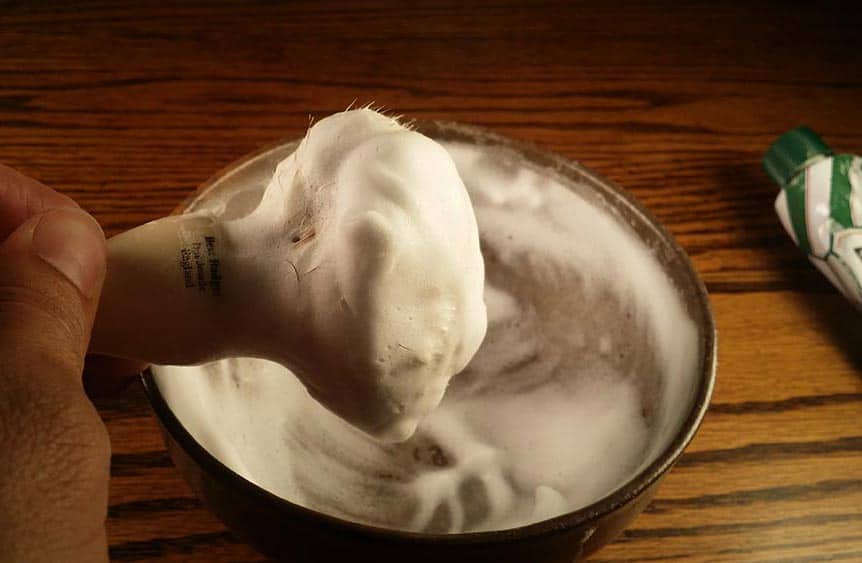
You will now have a nice lather when the consistency of the lather is semi-sticky.
What I mean by this is when you pull the brush up, a lot of the lather stretches out, kind of like a spider web.
Once you get to this point, you are ready to apply the lather to your face using the brush!
Alternate Methods of Lathering Without Using a Bowl
Adding the Cream Directly to the Brush
If you do not have a bowl and/or are traveling and do not want to deal with the inconvenience of taking your bowl with you, you can get by without it.
By taking a little bit of shaving cream and adding it to your wet badger hairbrush, you can make a decent lather.
Simply massage the shaving cream into the hair with your other hand.
This method takes a good amount of time but it is a great way to make a lather on the road.
Mixing Up the Cream in Your Hand
You can also whip up shaving cream in your hand. All you need to do is add a little bit of warm water and shaving cream to the palm of your hand mimicking your shaving bowl.
Mix the shaving cream in your hand the same way that you would a bowl. This method is much messier than using a bowl obviously but I have used this method plenty of times when in a pinch.
Conclusion
I hope this article helped you learn how to make a lather with a brush! It is not that difficult, especially with some of the shaving creams that I have mentioned in this article.
The easiest way is to get a dedicated bowl that is the right size for whipping up some shaving cream.
Personally, my favorite is to use a ceramic bowl.
Make sure you have let your badger brush set in hot water for long enough so that it can soak up enough water into the bristles.
And if you are in a squeeze, don’t forget there are those two other methods for building a lather, although they do not work quite as well as using a bowl.
I hope this information was helpful for you guys!
Well, shaving bowls and brushes are a vital part of beard grooming, and whether you use how to use a shaving mug or not, the lathering procedure above should be maintained.
Here are some more informational articles related to wet shaving that might be helpful: learning about safety razor aggressiveness and how to clean a shaving brush! Shaving soap is also a great alternative to shaving cream that is worth checking out.
A great lather can greatly improve the quality of your shave, but it is also important to have the right equipment as well including a quality safety razor or straight razor, the right razor blades, etc.
Also, check out our infographic on straight razors vs safety razors – know the difference.
Leave me a comment down below if you have any suggestions on how to make this article better or have additional questions.
FAQs About How to Lather Shaving Cream With a Brush

Frequently Asked Questions

1. How good are Merkur razors?
Merkur blades are made of high-quality materials and have an excellent design, making them extremely durable. They appear to last slightly longer than the average de blade.
2. Is Merkur a reputable brand?
Overall, the best safety razor. Merkur, a German razor company, was mentioned more than any other brand, praised for its long history, low price point, and reputation for quality manufacturing.
3. How long will a Merkur blade last?
Lasts 3-7 shaves.
Merkur is a well-known brand. They are appealing because they can provide a very close shave without being as aggressive as other brands. They are rust-resistant due to their platinum coating, and one blade can typically last between 3-7 shaves.
4. Where are Merkur razors manufactured?
MERKUR safety razors are made in Germany and provide complete corrosion protection as well as exceptional durability due to the zinc die casting process.
